Work Flow
As mentioned earlier, you can use the runtime interface to create characters for NPCs or player presets. It is recommended to build the demo scene as an external tool, allowing you to run it while you develop your game in Unity. When you build the demo scene, please make sure the “Scene In Build” of Build Settings looks like this:

We provide a handy tool that allows you to browse through the outfits and preview them quickly.
-
Access the tool though
Window > Master Character Creator > Tools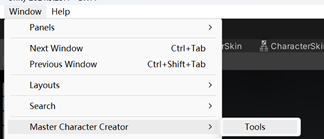
or click on the buttons in the
Toolssection inProjectSettings > SoftKitty > SubData - Character Customization: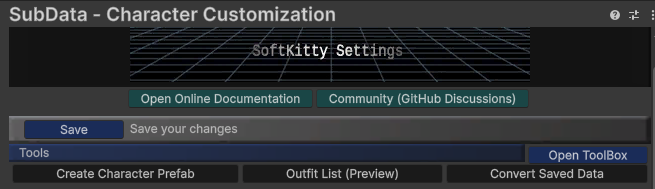
-
You can view the outfits list in the
Outfits Listsection: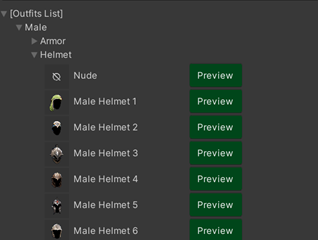
Click on the “Preview” button to preview the mesh in the pop up window:
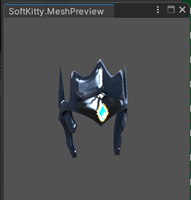
This way, you can quickly find the suitable outfit to bind with the equipment in your game.
When you add the EquipmentAppearance class to your equipment data, the inspector will look like this:
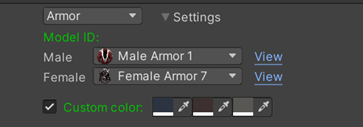
You can select and preview the mesh for both Male and Female characters. Additionally, you can toggle the Custom Color option to override the default color, allowing you to have multiple pieces of equipment with the same mesh ID but different colors.