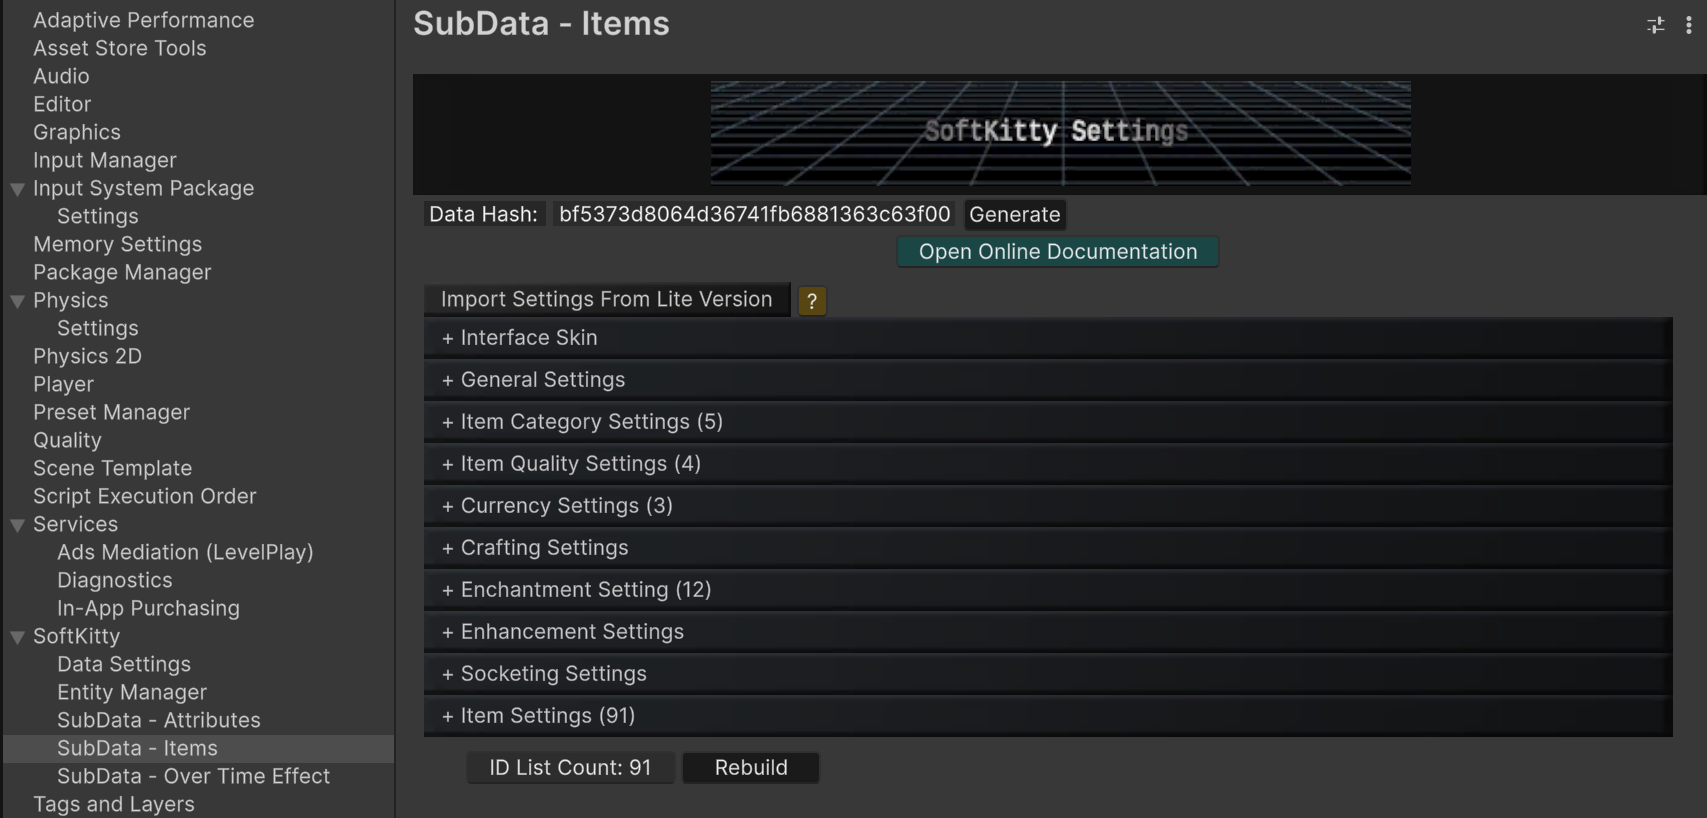
Item Manager Setting
The ItemObject database contains all the settings for the entire system. It’s organized into several categories, which we’ll introduce one by one:
General Settings
-
Canvas GameObject Tag: [Optional] Specify the tag of your main Canvas GameObject. This ensures the system finds the correct canvas, especially in scenes with multiple canvases.
-
Character Name Attribute: Select the attribute you've created to represent the character's name. Ensure it's a string value, with no visibility options enabled, and added to the Player/NPC's Base Stats in the
InventoryData. -
Character Level/XP/Max XP Attribute: Select the attribute you've created to represent the character's name. Ensure no visibility options enabled, and added to the Player/NPC's Base Stats in the
InventoryData. -
Item Cool Down Attribute: Select the numerical attribute you've created to represent cool down time. Ensure it's added to the items with cool down functionality.
-
Shared Global Cool Down Time: Sets a global cool down. When any item/skill is used, all usable items/skills enter this shared cool down period.
Item Category Settings
You can create as many categories for your items as you like (though it’s recommended to keep it to fewer than 5 visible categories due to UI space limitations).
-
Category Name: This name will be displayed as tab cards at the top of the inventory UI.
-
Category Color: The background color for items in this category.
-
Visible: Determines whether the category is visible to the player or hidden. For example, if you want skills to be managed or assigned to the ActionBar but not displayed in the player’s inventory UI, you can set this category to NOT visible.” Standard inventory UIs —like crate, store, loot, and inventory screens—won’t show items in this category. However, interfaces using scripts that inherit from
HiddenContainer.cs will only display
items in categories set to NOT visible, such as the Skills prefab in the "Assets/SoftKitty/InventoryEngine/Resources/InventoryEngine/UiWindows" folder.
Item Quality Settings
You can create as many quality levels as needed. Each quality will have an index displayed as blue text at the front. When your script accesses the quality attribute of an item, the value will correspond to the index of the quality levels you set here.
-
Quality Name: This name will be shown in the detailed information panel of items.
-
Quality Color: The frame color for items of this quality.
Currency Settings
You can create as many currency types as needed. Each currency will have an index displayed as blue text at the front. When your script accesses the currency value of an InventoryData class, you’ll need to call <InventoryData>.GetCurrency(int _type) using the index number as the parameter.
-
Currency Name: This is the display name of the currency.
-
Currency Color: The currency value text will be shown in this color.
-
Currency Sprite: The sprite will be displayed as the icon for this currency.
-
Exchange Rate: The Exchange Rate system allows you to define conversion rates between different types of currencies in your game. Here's how it works: Defining Exchange Rates: You only need to set the exchange rates for directly related currencies. For example: 1 Gold = 10 Silver 1 Silver = 10 Copper You don’t need to set 1 Gold = 100 Copper, as the system will automatically calculate the exchange rates for indirect conversions. Auto Exchange: When the Auto Exchange option is enabled, any currency the player acquires will automatically convert into higher-level currency when possible.
For example: If the player has 15 Silver, the system will automatically convert it into 1 Gold and 5 Silver.
Attributes Settings
Attributes represent the stats of your characters, such as attack power, defense, running speed, maximum health points, etc. You can create as many attributes as needed, with each attribute being an integer, float, or string value.
-
Display Name: The name displayed in the interface for this attribute.
-
Script Key: A short key used to access the value of this attribute in your script. For example, if the script key for the attack power attribute is atk and you want to find out the player’s total attack power, you can call
<InventoryData>().GetAttributeValue(“atk”). -
String Value: Check this if the attribute's value is a string. For example, you might have an attribute called Creator, and when a player crafts a weapon, you can set this attribute to the player’s name by calling
Item.UpdateAttribute(“Creator”, “Player Name”). -
Upgrade Increment: Items can be upgraded through the Enhancement system, and each upgrade level increases the item's attributes by the amount specified here.
-
Display Format: Select the punctuation between the attribute name and its value.
-
Suffixes: Input the suffixes string in the end of the attribute value, for example: %
-
Core Attribute: When checked, this attribute will displayed ahead of other attributes with bold font.
-
Compare Info: Whether to display the compare value of this attribute in the mouse hover information panel.
-
Visible in Hover Info: Determines whether the attribute is visible in the mouse hover information panel.
-
Visible in Stats Panel: Determines whether the attribute is visible in the character stats panel.
Crafting Settings
Players can CRAFT items using other items as materials. They must also have the corresponding blueprint in their inventory as hidden items. For detailed setup instructions, refer to the Craft Materials section.
-
Enable Crafting: If you don’t plan to include a crafting system in your game, uncheck this to disable the feature.
-
Material Category: Items used as crafting materials must belong to this category.
-
Blueprint Tag: Items used as blueprints must have this tag, refer to the Tags setting section.
-
Crafting Time: When crafting, a progress bar will fill from 1-100%. This setting determines how long the process will take until the item is created.
Enchantment Settings
Players can ENCHANT items to grant them additional attributes, which can be either positive or negative. Enchanting requires a specific type of currency and a particular item (such as a Magic Scroll).
-
Enable Enchanting: Uncheck this if you don't plan to include an enchanting system in your game to disable the feature.
-
Enchanting Category: Only items in this category can be enchanted.
-
Enchanting Success Rate: The percentage chance of success when a player enchants an item.
-
Required Currency: Set the currency type and the cost required to enchant an item.
-
Required Item as Material: Select the material item and quantity needed for enchanting.
-
Enchanting Time: When enchanting, a progress bar will fill from 1-100%. This setting determines how long the process will take to complete the Enchantment.
-
Enchantment List: Create a list of enchantments, each of which can have multiple attributes.
Enhancement Settings
Player can upgrade an item with the ENHANCEMENT system. The enhancing will cost one type of currency and two specific items. Each upgrade level will make the attributes of this items increased by the amount set by Upgrade Increment property in attributes setting.
-
Enable Enhancing: If you plan to not include Enhancing system in your game, uncheck this to disable this feature.
-
Enhancing Category: Only items belong to this category can be enhanced.
-
Maximum Enhancing Level: The maximum level an item can be enhanced.
-
Enhancing Success Curve: Success rate in percentage when player enhance an item. The rate will change by the curve from level.0~ maximum enhancing Level.
-
Destroy item when fail (Level>x): When check this option, the item will be destroyed when fail by upgrading to level x+ .
-
Enable Glowing Effect: Check this option to make the icon glow based on the item's enhancement level.
-
Glow Intensity Curve: The icon's glow will follow this curve, ranging from level 0 to the maximum enhancement level.
-
Required Currency: Set the currency type and cost when player enhance an item.
-
Required item as material: Select the material item and number of cost when player enhance an item.
-
Enhancing Time: When enhancing, there will be a progress bar move from 1-100%, when it’s done, the item will be enhanced, this is how long the process will take.
Socketing Settings
The SOCKETING system allows players to insert (socket) items of specified categories and tags into another item to boost its attributes. Follow the configuration options below to tailor the system to your game's needs.
-Enable Socketing: Toggle this option to enable or disable the socketing system in your game. If unchecked, the feature will not be available.
-
Socketed Items (Receiver) Category: Defines the category of items that can have socketing slots (e.g., weapons, armor). Only items in this category can receive socketing items.
-
Socketing Items (Plug-in) Category: Specifies the category of items that can be inserted (socketed) into socketed items (e.g., gems, runes).
-
Socketing Items (Plug-in) Tag: Filters socketing items further by requiring them to have a specific tag (e.g., FireGem or MagicRune). Leave blank if no tag filtering is needed.
-
Random Socketing Slots Number For New Item: Enable this to randomize the number of socketing slots when a new item is created using
new Item(int _uid). -
Minimal Socketing Slots Number: Sets the minimum number of socketing slots for newly created items when randomization is enabled.
-
Maximum Socketing Slots Number: Sets the maximum number of socketing slots for newly created items when randomization is enabled.
-
Lock Socketing Slots Number By Default: Enable this to lock socketing slots by default when a new item is created.
-
Random Chance to Lock Socketing Slots: Specify the probability (as a percentage) of socketing slots being locked by default for newly created items.
-
Unlock Socketing Slot Cost: The cost for the player to unlock a locked socketing slot. This cost can represent in-game currency or another resource.
-
Allow Remove Socketing Items: Enable this to allow players to remove socketed items. fromtheirtheir slots
-
Remove Socketing Item Cost: The cost for the player to remove a socketed item.
-
Destroy Socketed Item When Remove: Enable this option to destroy the socketed item when it is removed. Disable it if you want the item to return to the player's inventory instead.
Example Use Cases
-
A player can socket a Fire Gem (tagged as FireGem in the plug-in category) into a Sword (receiver category: weapon) to boost its attack power.
-
The system can randomly generate a sword with 2-5 socketing slots, some of which may be locked. The player can pay an in-game currency (e.g., gold) to unlock these slots and insert additional gems.
-
Players can also pay to remove socketed gems, with the option to either destroy or return the gem to the inventory.
Item Settings
-
Display Name: The name of the item.
-
Description: The text displayed in the detailed information panel. Keep it as short as possible.
-
Category: The category to which this item belongs.
-
Quality: The quality level of this item.
-
Icon: Select the item's icon texture. The icon should be a transparent texture. A variety of icons are available in the Assets/SoftKitty/InventoryEngine/Textures folder. The Master Inventory Engine supports three distinct methods for loading icons associated with your items, offering flexibility in memory management and asset delivery:
-
Directly Reference:
- Description: The icon texture is directly assigned and stored within the item's data.
- Pros: Simplest and most straightforward setup. The object is immediately available once the item data is loaded.
- Cons: All directly referenced icons will be loaded into memory at game launch, potentially increasing initial loading times. This memory cannot be easily freed as long as the item data remains in memory.
-
Resources:
- Description: The icon is loaded from a Resources folder at runtime, specifically when a script attempts to access it.
- Pros: Offers more flexible memory management as you can explicitly load assets only when needed and release them using Item
.ReleaseLoadedAsset().This method generally uses less initial memory at launch. - Setup: Requires you to provide the relative path to the icon within any Resources folder (e.g., Icons/MySwordIcon).
-
Custom:
- Description: The icon is loaded via the AssetLoader component. By default, this component is configured to load assets from
AssetBundles. - Flexibility: You can extend this functionality by inheriting from the AssetLoader class to create your own custom loading script (e.g., for
Addressables, web requests, or other custom asset management systems). - Integration: Attach your custom loader script to a game object and replace the default one in SGD_Settings.
- Description: The icon is loaded via the AssetLoader component. By default, this component is configured to load assets from
-
-
Maximum Stack: The maximum number of items that can stack in a single slot.
-
Price: The trading price and its associated currency type.
-
Weight: The weight of this item. The inventory interface includes a weight bar. You can create custom logic to slow down the player's movement or prevent them from moving when they are over-encumbered. Use
<InventoryData>().GetWeight()to retrieve the current weight value of a character. -
Drop Rate: When this item is in a loot pack's item pool, the drop rate determines the percentage chance of it dropping.
-
Usable: Toggle whether this item can be used via right-click or a key press on an action slot.
-
Consumable: Toggle whether this item will be consumed upon use.
-
Tradable: Toggle whether this item can be traded between the player and merchants.
-
Deletable: Toggle whether this item can be deleted by the player.
-
Visible: If unchecked, the item is treated as a Hidden Item, which is useful for special items like Skills.
-
Attributes: The attributes of this item.
When an item is generated, it's assigned its static attributes, as defined by the 'Static' checkbox. In addition, it may receive a random number of dynamic, non-static attributes. The chance of receiving each non-static Attribute is configurable. The specific values of these dynamic attributes are then randomized between the minimum and maximum values you set.
Access the attributes using
<InventoryData>().GetAttributeValue(uid). -
Use Actions: When this item is used, the commands in this list are sent to all registered callbacks. Register callbacks using GameManager
.PlayerInventoryData.RegisterItemUseCallback(). -
Tags: Tags are useful for providing additional definitions to items. For example, for equipment, tags can define the slot it belongs to (Head, Torso, Legs, etc.), whether a weapon is two-handed or one-handed, or if an item is a crafting blueprint.
-
Craft Materials: Specify the items required as materials when crafting this item.
-
Socketing Tags: This item will not accept socketing items with any tag in this list.
-
Custom Data: You can attach custom data of any Object type to items, identified by unique string keys. Like AudioClips, Prefabs, Textures, etc. Use the
item.GetCustomData(string _key)function to retrieve this data at any time. The Master Inventory Engine supports three distinct methods for loading custom data objects associated with your items, offering flexibility in memory management and asset delivery:-
Directly Reference:
- Description: The data object (e.g.,
Texture2Dfor an icon,GameObjectfor a model) is directly assigned and stored within the item's data. - Pros: Simplest and most straightforward setup. The object is immediately available once the item data is loaded.
- Cons: All directly referenced objects will be loaded into memory at game launch, potentially increasing initial loading times. This memory cannot be easily freed as long as the item data remains in memory.
- Description: The data object (e.g.,
-
Resources:
- Description: The object is loaded from a Resources folder at runtime, specifically when a script attempts to access it.
- Pros: Offers more flexible memory management as you can explicitly load assets only when needed and release them using
Item.ReleaseLoadedAsset(). This method generally uses less initial memory at launch. - Setup: Requires you to provide the relative path to the object within any Resources folder (e.g., Sounds/DrinkSound).
-
Custom:
- Description: The object is loaded via the
AssetLoadercomponent. By default, this component is configured to load assets fromAssetBundles. - Flexibility: You can extend this functionality by inheriting from the
AssetLoaderclass to create your own custom loading script (e.g., forAddressables, web requests, or other custom asset management systems). - Integration: Attach your custom loader script to a game object and replace the default one in SGD_Settings.
- Description: The object is loaded via the
-