Installation
- Download the package from
Package Managerand clickImport to Project.
-
(Skip this if you're using URP render pipeline) Navigate to
Assets/SoftKitty/MasterHealthBarSystem/Demo/RenderPipeline, selectDemoObjects.mat, change its shader to:- HDRP:
HDRP/Lit - Built-In:
Standard

- HDRP:
- Open the
demo scenelocated at:Assets/SoftKitty/MasterHealthBarSystem/Demo/Demo.unity- Verify that the demo runs as expected.
-
Navigate to
Project Settings → SoftKitty → Data Settingsand expand theDatatab. If you plan to use this system with SoftKitty shared system AttributeObject, EntityManagerObject and OverTimeEffectObject, then make sure the following database objects are assigned, otherwise remove them:Attribute DataEntity Manager DataOverTimeEffect Data

- Navigate to
Project Settings → SoftKitty → Data Settingsand expand theDatatab. Make sure theHealth Bar Settingdatabase object is assigned. You can create your own new settings object via:Right click in the project panel > Create > Soft Kitty > Data Objects > Health Bar Settings, then drag the asset to theDatatab to replace the current one.
-
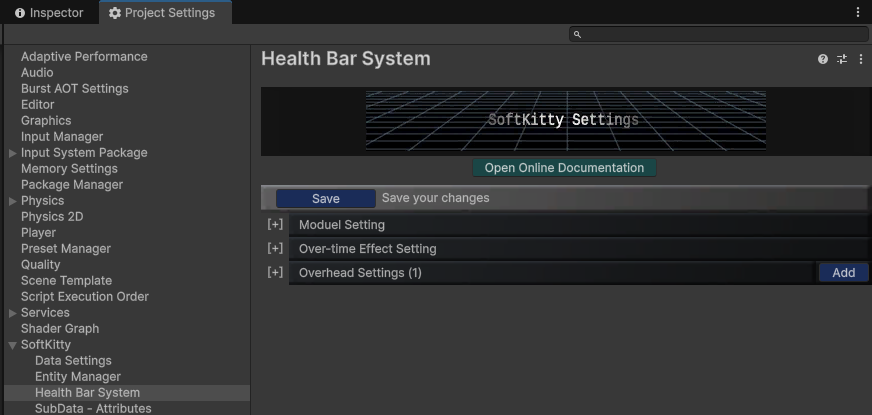
The system is now ready for your project. You can start exploring the health bar settings in:
Project Settings > SoftKitty > Health Bar System