Customize Font
Customize Font
You can create your own font texture atlas and use it for bar value text and floating combat text.
Custom fonts are loaded from the built-in Resources path, so once the texture is added with the correct naming convention, it becomes available in the system settings.
Folder Location
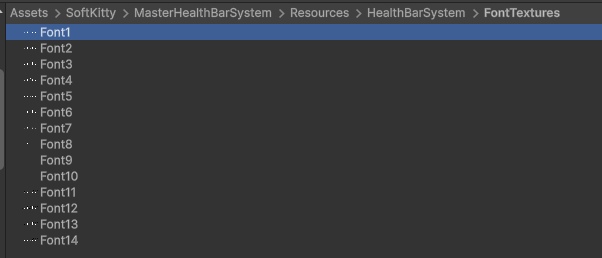
Place custom font textures in:
Assets/SoftKitty/MasterHealthBarSystem/Resources/HealthBarSystem/FontTextures/
Naming Rule
Every custom font texture must follow this naming pattern:
Font#.png
#is the numeric ID of the font.- Check the existing files in the folder.
- Use the next available number after the current largest ID.
For example, if the highest existing file is Font4.png, the next custom font should be named Font5.png.
Texture Requirements
The font texture is a fixed-layout texture atlas.
- Width:
1024 px - Height:
256 px - Grid:
10 columns x 2 rows - Cell size: approximately
102 x 128 pxper cell - In the
Texture Import Settings, checkAlpha Is Transparency, uncheckGenerate Mipmap, selectWrap ModetoClamp

The system expects every glyph to appear in a specific cell, so the layout must match the built-in format exactly.

Character Layout
Bottom Row
The bottom row stores the digits 0 to 9, from left to right:
0123456789
Top Row
The top row stores symbols from left to right:
Not usedNot used|/.?xHeartStarSkull
This means the top row is not arranged left-to-right like the number row. Be careful to place each symbol in the expected slot.
Supported Symbols
In addition to digits, the font atlas supports these symbols:
|/.?xHeartStarSkull
These symbols are useful when formatting health text through the Value Format field in BarSettings.
Workflow
- Duplicate an existing font texture if you want a safe starting point.
- Edit the atlas while preserving the original cell layout.
- Save the new texture as
Font#.pngin the correct folder. - Return to the project and select the new font ID in:
- BarSettings for bar value text
- FloatingCombatTextSettings for popping number text
Best Practices
- Keep all glyphs centered consistently inside their cells.
- Maintain strong readability at gameplay scale, not only in the texture editor.
- Avoid overly thin strokes if the font will be used on small bars.
- Test the font with long formats such as
9999/9999to make sure the spacing still looks correct. - If you use special icons such as
HeartorSkull, verify that they remain visually balanced with the numeric glyphs.
Related Settings
- Use BarSettings to choose the font for bar value text.
- Use FloatingCombatTextSettings to choose the font for floating combat text.